How To Fix a Hole in the Wall
Let me start this post by saying I am, in no way, shape or form ,a professional or have any formal training on drywall. I'm just a girl who loves to build and fix things with a husband who thinks he can (and usually succeeds) in fixing anything.
Our friends put a huge hole in their wall and didn't want to pay an outrages fee for their landlord to fix it, so we volunteered to help. It was an easy, fun fix.
supplies to buy
• Dry wall joint tape
• Dry wall screws
• 1x1 scrap wood (we used studs)
• Med and fine grit sanding blocks
• Quick set or premixed joint compound
• Decent size piece of dry wall
• level
supplies I had on hand
• utility knife
• paint scraper
• drill/charger
• pencil
• hand saw
• bucket if you use the quick set we mix our selves
• old blanket to lay on floor when painting
• tape measure
• paint scraper
• drill/charger
• pencil
• hand saw
• bucket if you use the quick set we mix our selves
• old blanket to lay on floor when painting
• tape measure
The Hole
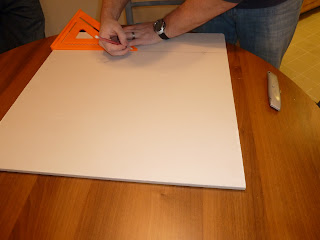
We started by using a box cutter to cut the drywall into a rectangle and expose the studs. We used a level to make the cut straight.
We sanded the edges really, really well. This was by far the most time consuming part of the repair.
We bought a sheet of drywall at the hardware store, and cut to the size of the rectangle we cut. We cut the drywall slightly on the large size, just so we didn't error on the side of too small. Then we sanded the wall and the new piece of drywall where needed until it was a good fit.
Insert the new drywall in the hole, then use drywall screws to secure drywall to the studs. Try not to sink the screws. Apply joint tape over all the seems, we used a mesh a tape.

Spread the drywall joint compound over the patch tapering around the edges.
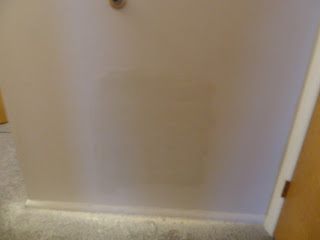
Sand and reapply compound, sand again then paint! This is the finished patch minus the paint.
I think it looks pretty good! Once painted the wall will look good as new.
It was a relatively inexpensive project. Supplies cost around $25, plus the new tools we bought just because we had an excuse.
The following links are the resources I used to make sure we knew what we were doing. I hope you never end up with a hole in your wall, but if you do, you now know how to fix it!


1 comment:
Thank you for sharing your thoughts and knowledge on this topic. This is really helpful and informative, as this gave me more insight to create more ideas and solutions for my plan. I would love to see more updates from you.
Elcometer
Post a Comment